You are viewing documentation on our Workflows Product. Click here for help with our legacy Workflows Forms Feature instead.
Your Workflow tab provides the hub to store your created workflows and folders and helps you easily manage them! Review the built-in functionalities below.
At-a-glance metrics
Each workflow lists three metrics:
- Times run: Number of times the workflow has been started
- Complete: Number of times a workflow has been finished
- Assigned: Number of currently set steps in a workflow. See more on assigning workflow steps here.
Hover navigation
Quickly update or share a workflow by hovering over an individual workflow and selecting an element to be redirected to.
Here, you will have a clickable view into your Dashboard —where all metrics can be viewed and managed, the Builder tab to edit steps, Settings to update naming conventions, and the Live Workflow to view and distribute the workflow.
Workflow descriptions
Give your workflows further identification by adding a description. Descriptions are displayed below the title in the Workflow tab:
Quickly update or add a workflow description. Click into the workflow > Settings or hover over the workflow and choose Settings from the populated options.
Search and sort
Quickly find a particular workflow or review by time created or title.
Use the Search Bar to locate a workflow by name. The search results will begin to pull in title matches to choose from.
The Sort function enables you to view workflows by:
- Name A to Z
- Name Z to A
- Created Newest to Oldest
- Created Oldest to Newest
Move, copy, and delete
Move
Organize your Workflow tab further by organizing your workflows into folders like Projects or Locations.
Select one, multiple, or all workflows by clicking on the top square and then select “Move to.”
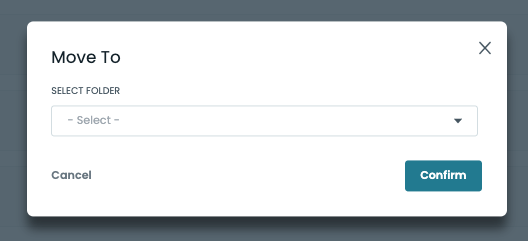
From the redirected screen, choose which folder from the dropdown and select Confirm to move workflows.
Copy
Duplicate an existing workflow to adjust, rename, and distribute.
Select one, multiple, or all workflows by clicking on the top square and then select “Copy.”
The copied workflows will populate in the folder with the appended “- COPY” in their title.
Hover over an individual copied workflow and select Settings to rename the workflow and description and the Builder tab to customize the workflow further.
Delete
Delete one, multiple, or all workflows by selecting the top square and then selecting the Delete button.
After you have confirmed you would like to delete the selected workflows, the workflows will be removed from your Workflow view and no longer accessible.
The workflows will be moved to the Deleted folder listed under your folders. This can be reversed. Select one or multiple workflows and click Move To to place them into a folder. Workflows moved out of the Deleted folder will have live URLs to distribute again.